DIY beaded pacifier clip
Ons kleine meisje heeft een voorkeur voor het soort fopspeen waar geen grote ring aan zit en veel speenkoorden werken daar niet op. Daarnaast vind ik de koorden die je in de winkel kan kopen niet echt mooi, dus besloot ik zelf een speenkoord te maken. Voor dit koord gebruikte ik kralen die ik jaren geleden al kocht en altijd heb bewaard voor een speciale gelegenheid. Blijkbaar was er nooit iets echt bijzonder genoeg om ze aan te wenden, maar ze gebruiken voor ons 1e kind lijkt me speciaal genoeg, toch? Dit speenkoord is erg gemakkelijk om te maken, zolang je er maar rekening mee houdt dat alle onderdelen veilig zijn (bpa/giftige stoffen/dinosaurus/andere potentiële gevaren vrij) en dat je alles heel goed vastzet. (Je wil natuurlijk niet dat je baby die speciale kralen als lunch gebruikt.)
Wat je nodig hebt:
– (zeer) stevig draad
– kralen (deze komen van Julija’s shop in Antwerpen)
– borduurnaald
– bretelclip
Our little girl prefers the kind of pacifier that doesn’t have a handler and a lot of pacifier clips don’t work on this particular kind. So I decided to make a pacifier clip (or ‘soother holder’ – I like ‘pacifier clip’ better, since it sounds like ‘pacifist’ and boy, those pacifiers sure bring peace in your home!) myself.
For this clip I used beads I’ve been saving for a special occasion (in other words: I bought them ages ago and I am not sure if they’re still for sale). Now, using them for our firstborn is a pretty special occasion, don’t you think? This clip (or holder) is pretty easy to make, as long as you make sure that all the parts are safe (bpa/toxic/dinosaur/other potential dangers free) and extra-extra secured. (You don’t want your toddler to eat those special beads, do you?)
Here’s what you need:
– (paracord) string
– beads (mine come from Julija’s shop in Antwerp)
– embroidery needle
– suspender clip
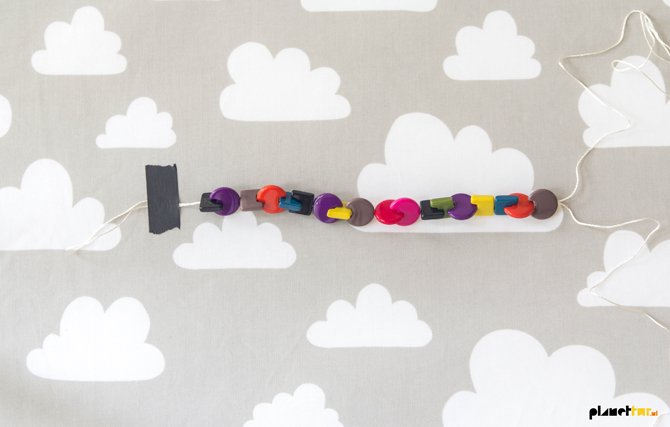
Knip een stuk draad af op een lengte van ongeveer 60 centimeter. Vouw de draad dubbel en rijg de kralen eraan tot ongeveer 16,5 centimeter van de draad gevuld is.
Cut a piece of string to 16 inches in length. Loop one end. String the beads through the needle and down the string until approximately 6.5 inches of string are beaded.
Maak aan de kant van de lus een knop. Maak meerdere knopen over de originele knoop tot deze groter is dan het rijggat van de 1e kraal die onder de knoop zit.
Tie a knot tightly at the end top of the beaded string. Repeatedly tie additional knots over the original knot until it is big enough to sufficiently cover the hole of the last bead.
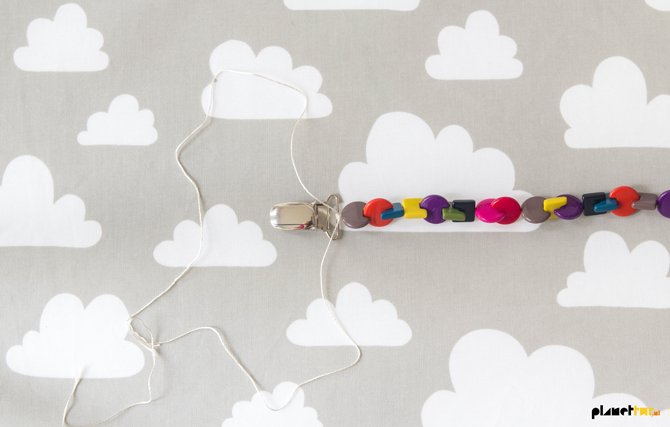
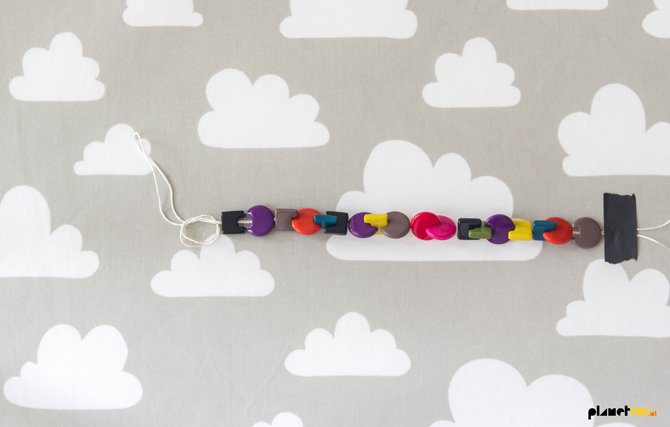
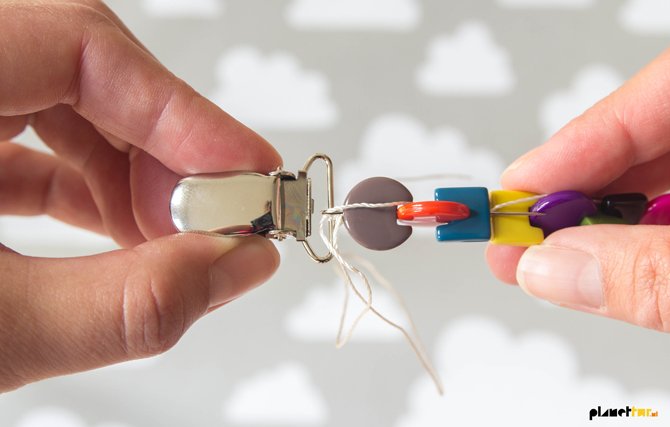
Maak het andere uiteinde van de draad vast aan de clip. Maak ook hier meerdere knopen op elkaar voor extra stevigheid.
Slip the string through the hole in the suspender clip and make a double knot to secure the string.
Voordat ik de resterende draden afknipte, stak ik deze eerst nog terug door de kralen (zie boven). Je kan, voor extra stevigheid, ook nog een druppel lijm op beide knopen doen. De banner op de bovenste foto maakte ik ook zelf, je vindt hier een korte werkomschrijving.
Before I cut off any extra string that was left, I first strung the two leftovers ‘back’ through the beads (see picture). For some extra security, you could also place a dab of glue onto both knots. I made the banner on the right of the first photo myself too by the way. You can find its short ’n sweet tutorial here.

Wat leuk gedaan. Jij bent echt een super leuke creatieve moeder :) Gaat het goed met jullie? Groeit Jet goed?
Handig hoor, zo’n dubbele draad ;) toffe kralen! Lucky Jet :)
Dat ziet er goed uit! Voor Juul maakte ik er ook zelf een. Leuk om te doen.
De allertofste speenketting voor Jet, perfecte combi van kleurtjes! Jammer dat ’t Raafje hier geen speen blieft ;-)